GrunID Shiny App
grunid-app.Rmd
library(grunID)Using the Shiny App
The Shiny app bundled with the grunID package provides a user-friendly interface for interacting with the database and performing various tasks. This article will guide you through the features and functionalities of the app.
Launching the App
To launch the Shiny app, simply call the
grunID::run_app() function in your R environment. The app
will automatically search for a configuration file to obtain the
necessary parameters for connecting to the database, similar to the
grunID::gr_db_connect() function.
Note: The app is currently in development, and changes may be made. As a result, this documentation may not always be up-to-date. Please report any bugs to erodriguez@flowwest.com.
grunID::run_app()
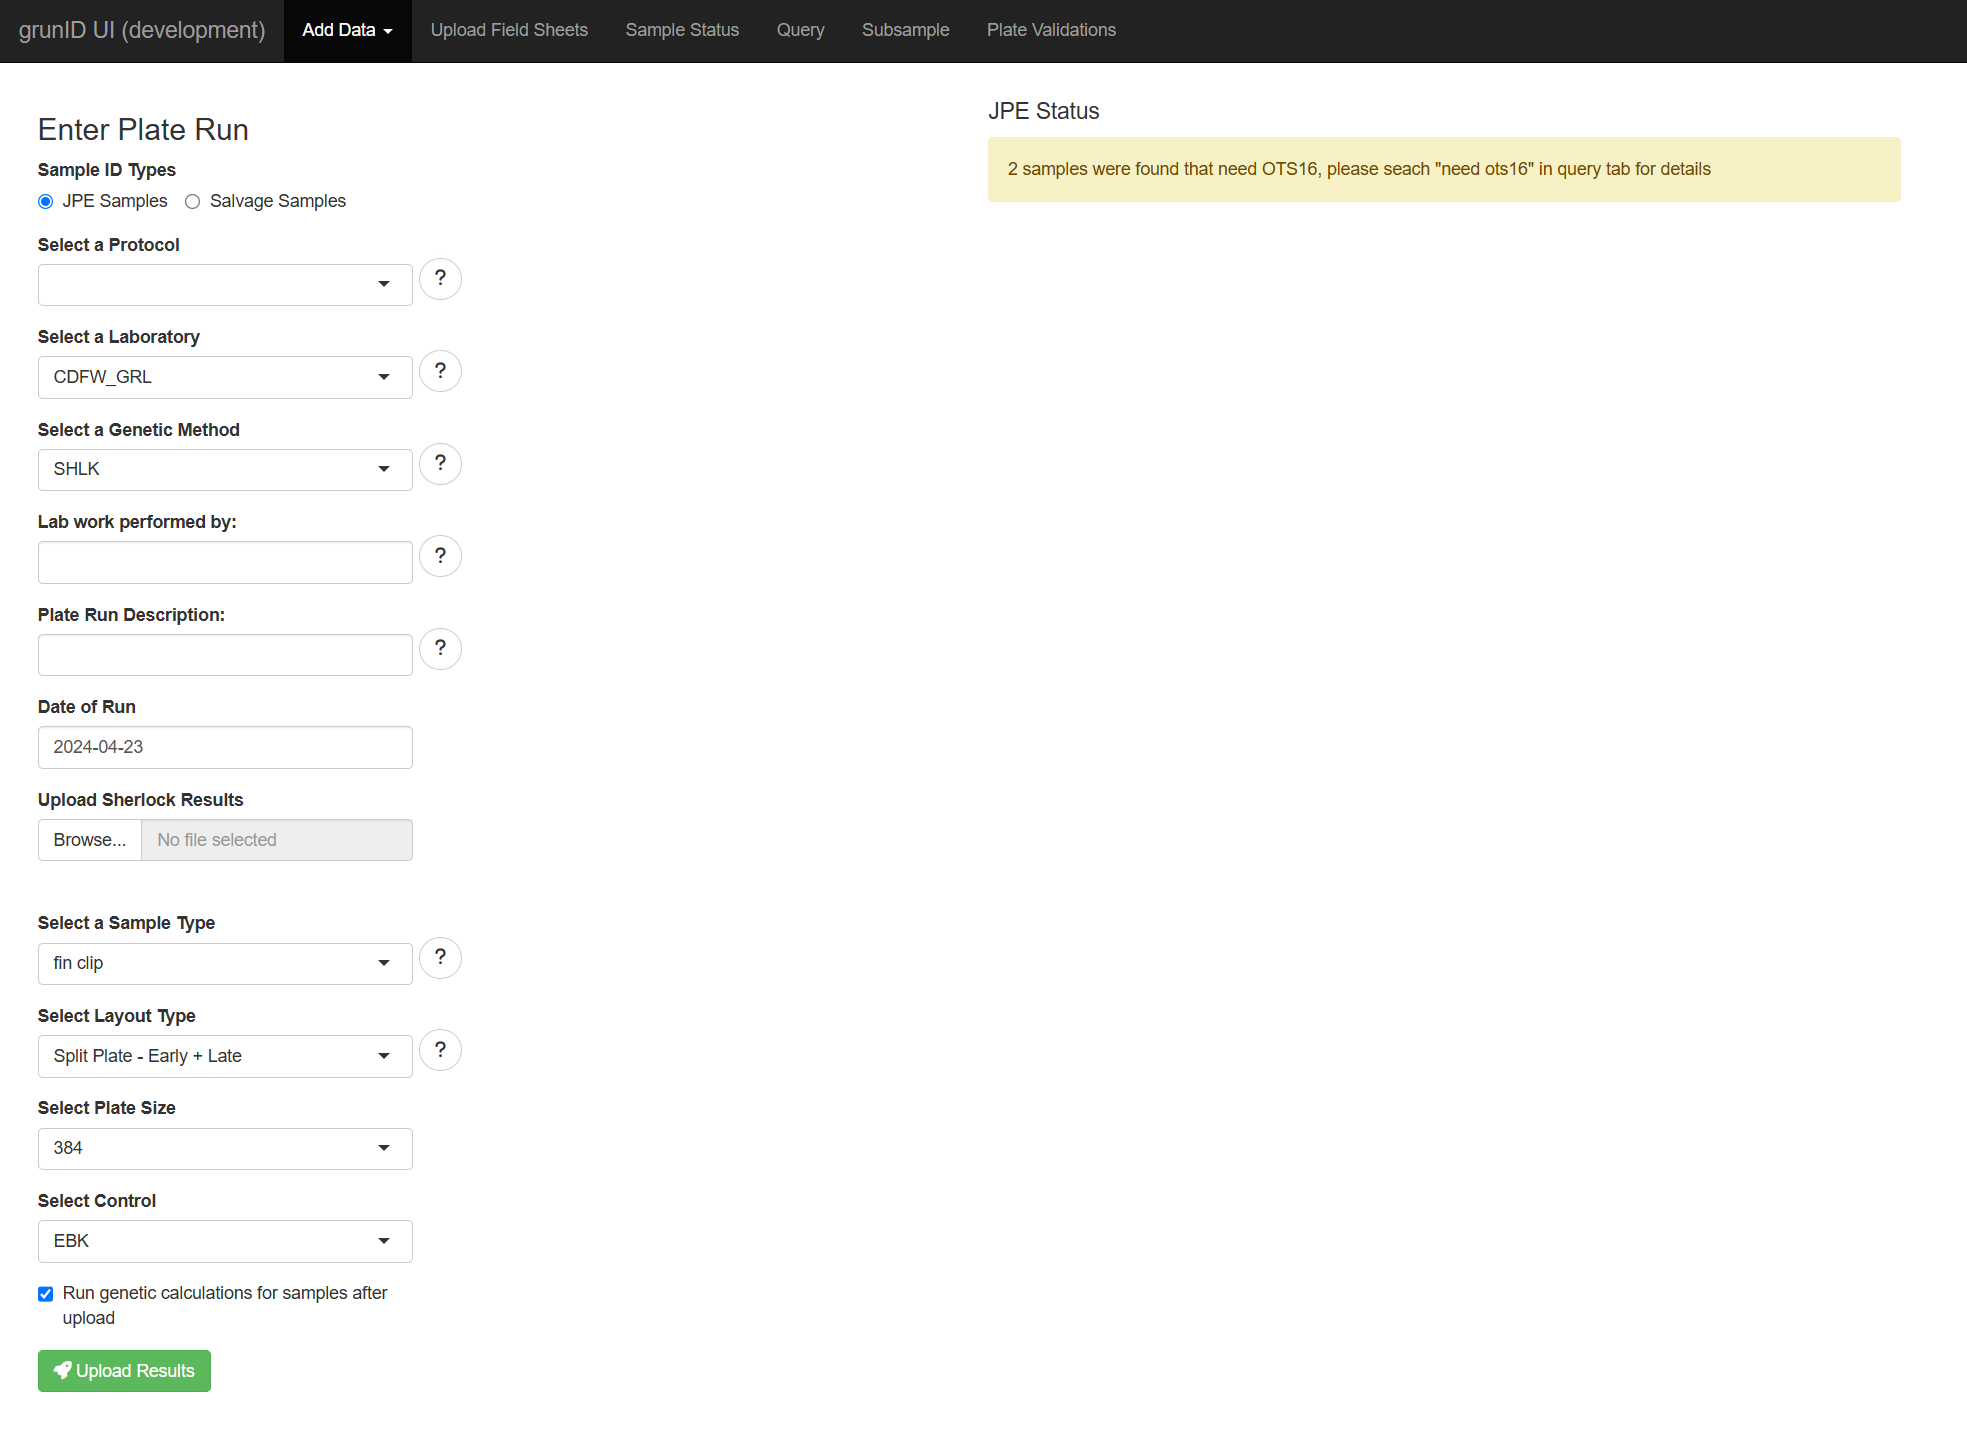
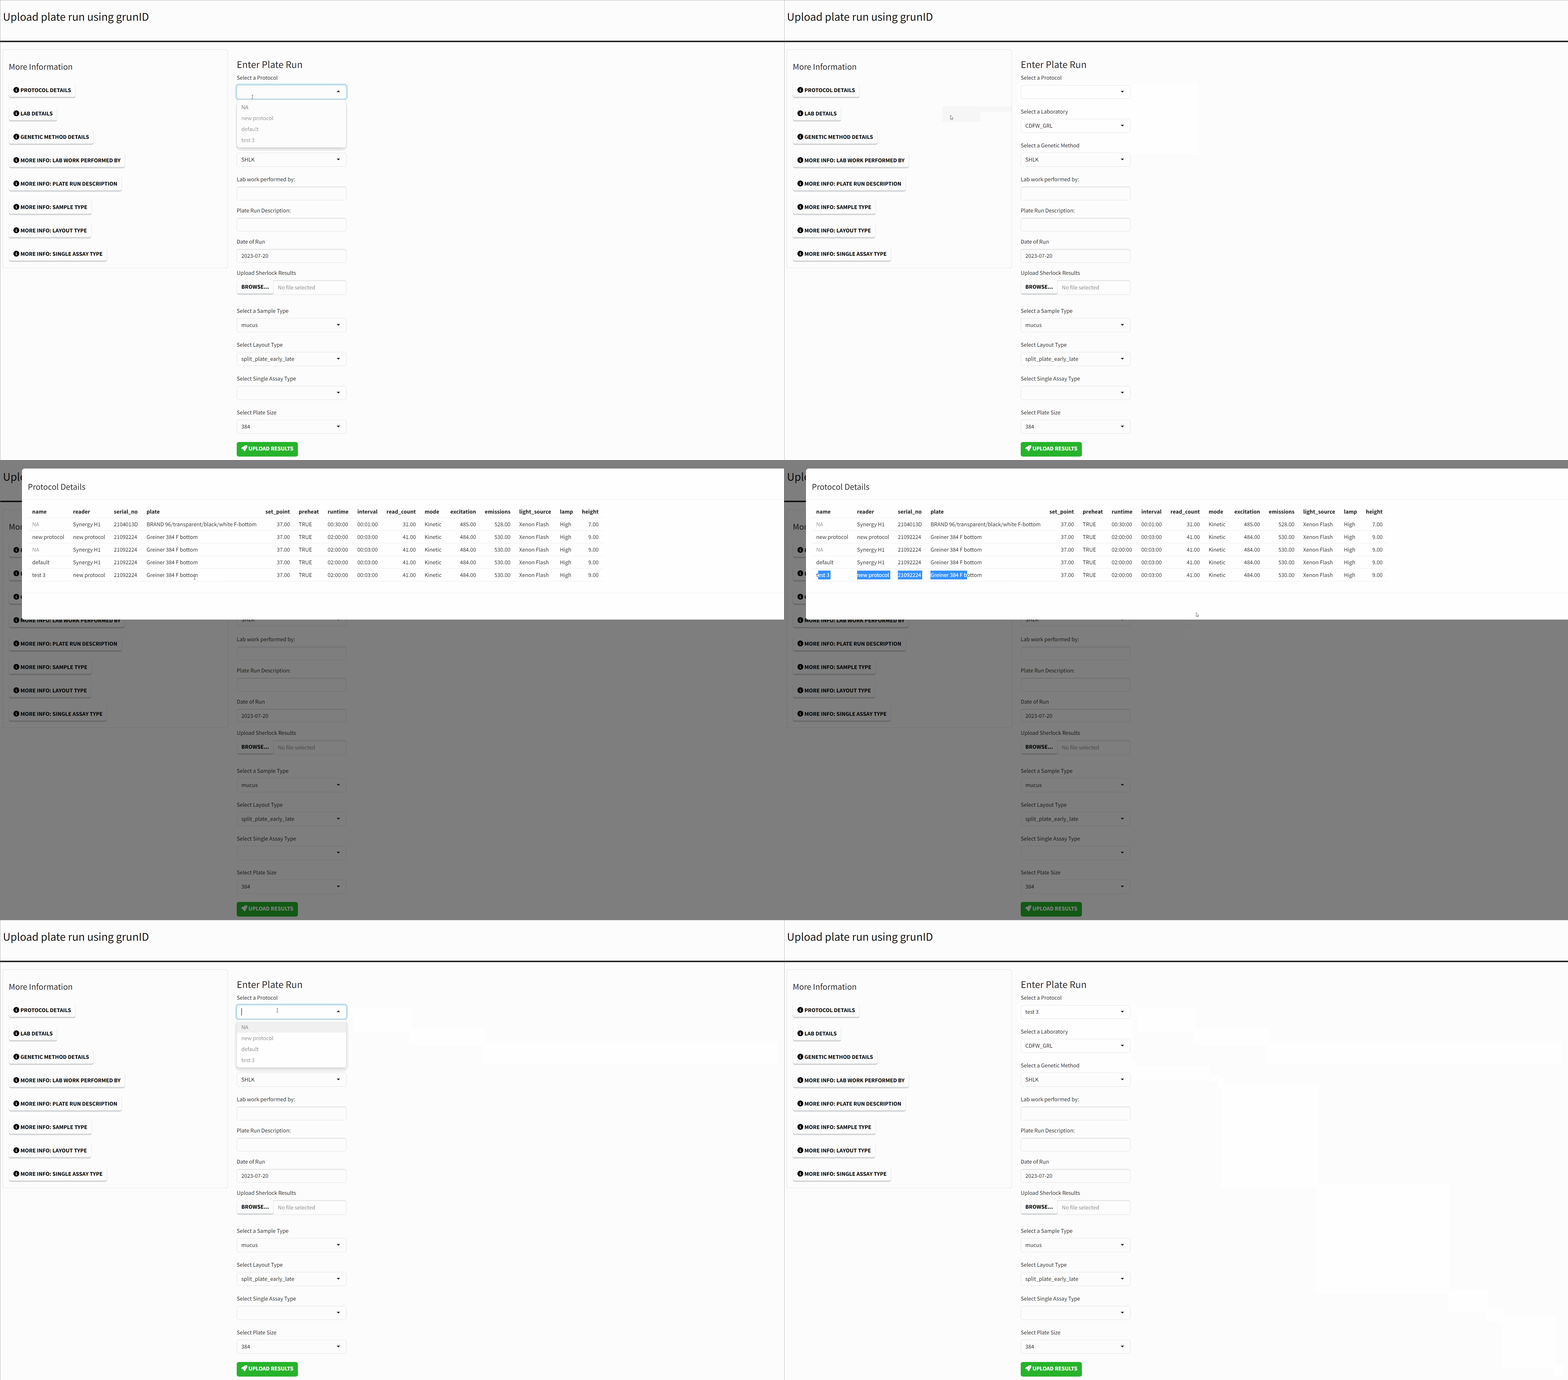
The homepage of the application presents a form for submitting new Sherlock results. Each form field has a corresponding ‘More Information’ button that either lists the available options in more detail or provides a more detailed explanation of the input.

Uploading Results
The landing page of the app allows you to upload results to the database. In this section, we will walk through an example of this process.
The first step is to ensure that your results file is formatted correctly for uploading. You can find a template for this on the “Templates” page of this site. Before uploading, you must know the following information about your results:
- JPE or Salvage Samples - each of these are stored in different tables in the backend.
- A Protocol - this is the configuration set on the BioTek machine. The most important settings are the runtime and total_counts.
- The laboratory where the analysis is taking place.
- The Genetic Method
- Lab Work Performed by: name of personnel who performed the lab work, this is not a strict value but it is a good idea to ensure it is correct in order to be able trace back any issues.
- Date when the analysis was run
- Sample Type
- The layout used for the analysis
- The plate size
- The control used for calculating thresholds.
Submitting is as easy as using this required information and filling in each section if the form. Once complete you click “Upload Results”
Checking In Samples
The “Check-in” feature allows users to upload a file containing sample information to update the database. This process serves two main purposes:
- If a sample in the uploaded file does not exist in the database, it will be automatically created.
- The status of the samples included in the file will be set to “returned from field”, indicating that they are ready for genetic analysis.
This functionality ensures that all necessary samples are properly tracked and available for generating plate maps used in genetic analysis, even if they were not initially included in the pre-season sample plan.